Git Tutorial
- Pre-requisites
- Create your repository
- Create your GitHub repository
- Repeat after me, "ADD, COMMIT, PUSH"
- Branching in a nutshell
- Creating a pull request
- Recommended workflow with GitHub issue tracking
In this tutorial, we'll teach you how to use Git and GitHub simultaneously so you can see how they work together.
Pre-requisites
- You must register an account on GitHub.
- You must install Git on your local machine by executing
sudo apt install git.
Create your repository
- On your machine, go to home directory and create a folder called
myrepo.
cd ~
mkdir myrepo
- Navigate into
myrepoand run the following command to initialize Git database.
cd myrepo

git init
# result: Initialized empty Git repository in /home/your-computer-name/myrepo/.git/
If you ls -la, you would see that there's a folder .git in the directory. This is the Git database folder. Please DO NOT delete this folder at any circumstances.
ls -la

# result:
# drwxrwxr-x 3 your-computer-name your-computer-name 4096 May 30 14:53 .
# drwxrwxr-x 9 your-computer-name your-computer-name 4096 May 30 14:53 ..
# drwxrwxr-x 7 your-computer-name your-computer-name 4096 May 30 14:53 .git
Congratulations! You've just created your first Git repository.
Create your GitHub repository
In this step, we'll create a GitHub repo where we'll push our local Git repository to.
-
Go to your GitHub profile and click at "new" button to create a new GitHub repository.

-
Fill in the information about your new repo.
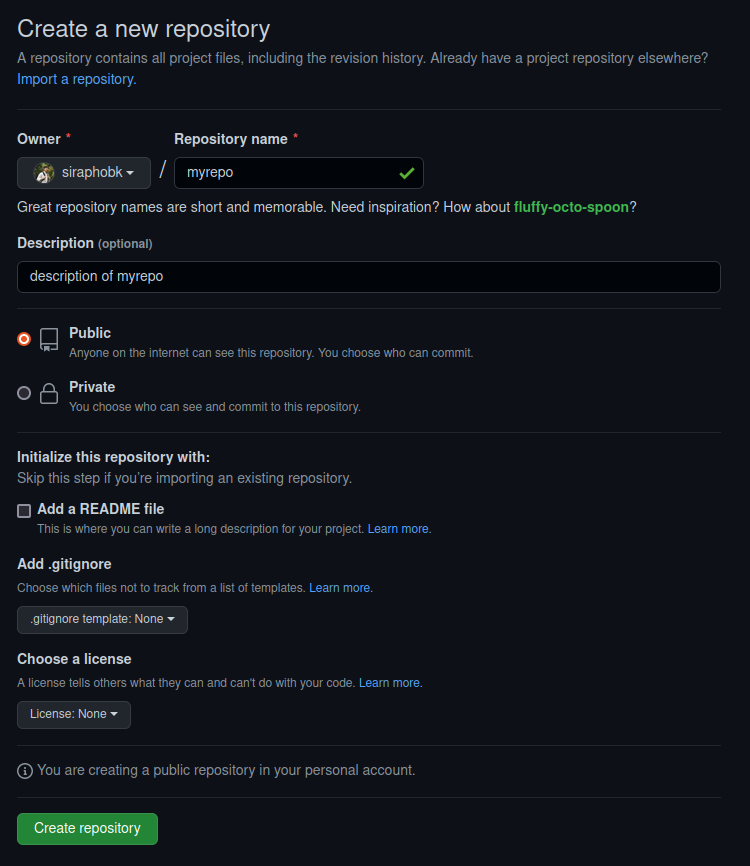
If you don't know what to fill, please consider the following list.
- Repository name: "myrepo"
- Private or Public: "Public"
After, you've completed you setup, click at "Create repository".
Now you have your GitHub repository!
-
Next, we'll push our local Git repository to GitHub.
Back to
myrepodirectory, please copy and paste the following code to your terminal and then execute.It's OK if you don't know what it does. This is just to link your local repository to remote repository(GitHub). We'll explain the commands in the next step.
echo "My first repo" > README.md # create README.md
git add README.md # add README.md to Git index
git commit -m "first commit" # commit with a message
git branch -M main # change branch name to "main"
git remote add origin [email protected]:siraphobk/myrepo.git # link remote repository(GitHub) to local repository
git push -u origin main # push changes to remote
You should see the following message if you succeeded.
[master (root-commit) 578dbc7] first commit
1 file changed, 1 insertion(+)
create mode 100644 README.md
Enumerating objects: 3, done
Counting objects: 100% (3/3), done
Writing objects: 100% (3/3), 225 bytes | 225.00 KiB/s, done
Total 3 (delta 0), reused 0 (delta 0)
To github.com:siraphobk/myrepo.git
* [new branch]      main -> main
Branch 'main' set up to track remote branch 'main' from 'origin'
Repeat after me, "ADD, COMMIT, PUSH"
-
Let's add another file to the repository. Run the following command to create a .py file.
# you can try to run the file by executing `python3 main.py`
echo "print('sup, world')" > main.py -
The first command you'll need to know is
git status. The git status command displays the state of the working directory and the staging area. It lets you see which changes have been staged, which haven’t, and which files aren’t being tracked by Git.Try the following command.
git statusYou should see the following output.
On branch main
Your branch is up to date with 'origin/main'.

Untracked files:
  (use "git add <file>..." to include in what will be committed)
  main.py

nothing added to commit but untracked files present (use "git add" to track
You can see that we have 1 untracked files. An untracked file means that the file hasn't been added to the Git index.
-
Now we have to add
main.pyto our Git index. Please run the following command.git add main.pyType
git statusto see the result.On branch main
Your branch is up to date with 'origin/main'.
Changes to be committed:
(use "git restore --staged <file>..." to unstage)
new file: main.pyYou can see that a new file
main.pyhas been added to Git. -
Next, we'll have to commit the changes in order to apply changes permanently.
Type the following command to commit the changes.
# tips: "-m" is to attach a message to the commit
git commit -m "add file main.py" -
Since you've made your changes on the local Git, next step is to push it to the remote repository. Please run the following command.
git push origin mainIf there's no error messages in your terminal, Congratulations! You've just learned how to edit changes using Git and push those changes to GitHub.
A summary process of adding changes to the codebase is to "ADD, COMMIT, PUSH". Let's do it again "ADD, COMMIT, PUSH".
- First, you edit the code and ADD them to Git index.
- Second, you COMMIT the changes.
- Lastly, you PUSH the changes to the remote repository.
Execute git log to see history of your commits.
commit ce423750ac470e11a5bb22d60178399809ac4564 (HEAD -> main, origin/main)
Author: siraphobk <[email protected]>
Date:   Mon May 30 15:29:21 2022 +0700

    add file main.py

commit 578dbc7d67c184a42c69ee3d2fb339cddc7f891e
Author: siraphobk <[email protected]>
Date:   Mon May 30 15:12:49 2022 +0700

    first commit
(END)
Branching in a nutshell
One of the best feature of Git is branching. Branching allows you to develop a new feature without breaking the main branch.

-
Create a branch by running the following command.
# result: Switched to a new branch 'feature-1'
git checkout -b "feature-1"
Git will create a new branch and automatically checkout to that branch.
-
To see all branches, please run
git branch.* feature-1
main -
Let's add some code to the current branch. Please change the content of
main.py.for i in range(10):
print('sup, world 10x better!') -
Next, let's ADD, COMMIT, and PUSH!
git add main.py
git commit -m "add for-loop to print"
git push origin feature-1
Please notice that instead of pushing to main branch, we'll push to feature-1 branch instead. This is because we're currently working on the feature-1. Pushing to main branch doesn't affect anything.
-
Let's check out to our main branch.
# result: Switched to branch 'main'
#         Your branch is up to date with 'origin/main'.
git checkout main
If you look into
main.py, you'll notice that the content hasn't changed. This is because the changes are on branchfeature-1notmain.To see the differences between branches, please run the following command.
git diff main feature-1It should return the following result.
diff --git a/main.py b/main.py
index c1a7c8c..0812eef 100644
--- a/main.py
+++ b/main.py
@@ -1 +1,2 @@
-print('sup, world')
+for i in range(10):
- print("sub, world 10x better!")
We can say that branch
feature-1is ahead ofmain. To allowmainto be up-to-date, you must mergefeature-1intomain.The rule of thumb: Always merge feature branch to the main branch.
-
Let's merge the
feature-1andmaintogether.Please make sure that you are on the
mainbranch. If not, please rungit checkout main.Run the following command to merge
feature-1intomaingit merge feature-1It should produce the following result.
Updating ce42375..8951173
Fast-forward
 main.py | 3 ++-
 1 file changed, 2 insertions(+), 1 deletion(-)
If you look into
main.py, you should see that the content has changed. -
Push the changes to repository.
git push origin mainYou should NEVER EVER EVER push directly to main branch. Since this branch is considered working properly most of the time. Pushing directly could potentially destroy and corrupt the working code.
Creating a pull request
Next, we'll get back to GitHub and learn how to create a pull request.
To quote GitHub,
Pull requests let you tell others about changes you've pushed to a branch in a repository on GitHub. Once a pull request is opened, you can discuss and review the potential changes with collaborators and add follow-up commits before your changes are merged into the base branch.
-
Create a new branch
feature-2and change the content ofmain.pytofor i in range(10):
print("sub, world 10x better!")
print("done")Add, commit, and push the changes to GitHub.
-
Open browser and navigate to your repository on GitHub. Click on tab
Pull requests. -
Click
New pull requestto create a pull request.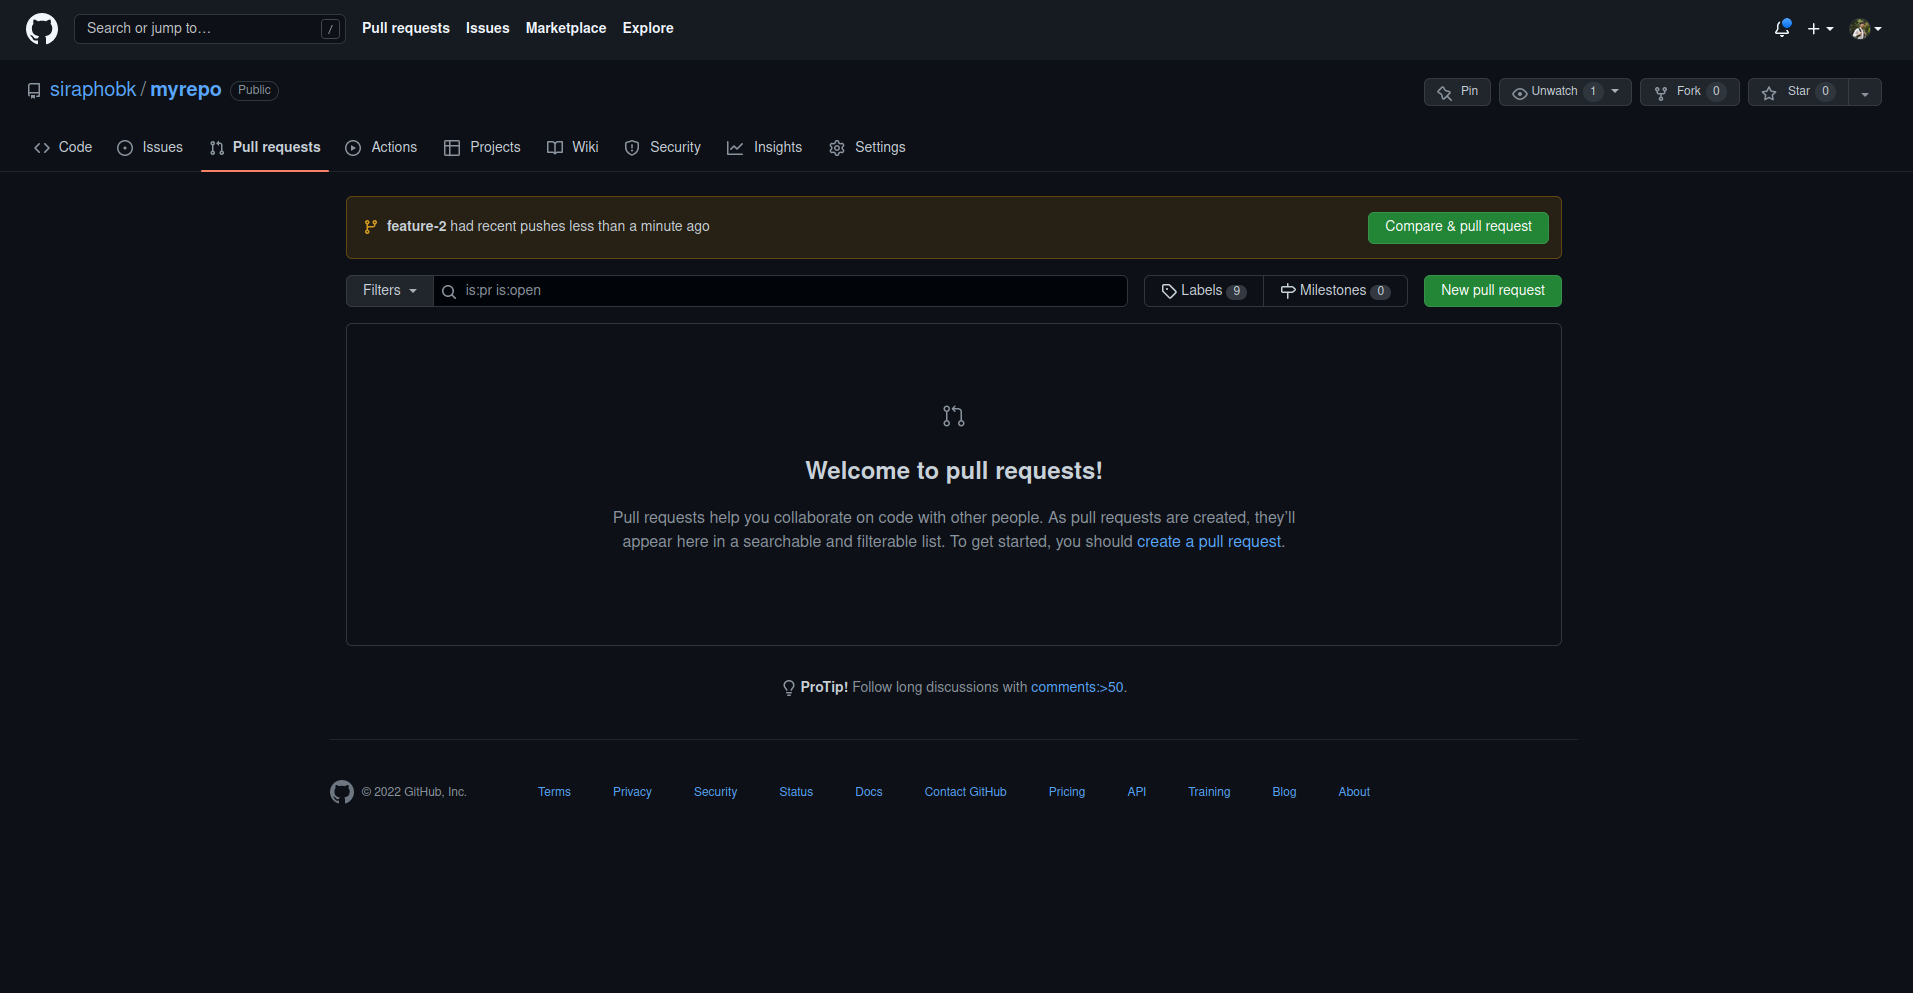
-
Select base branch as
mainand compare branch asfeature-2.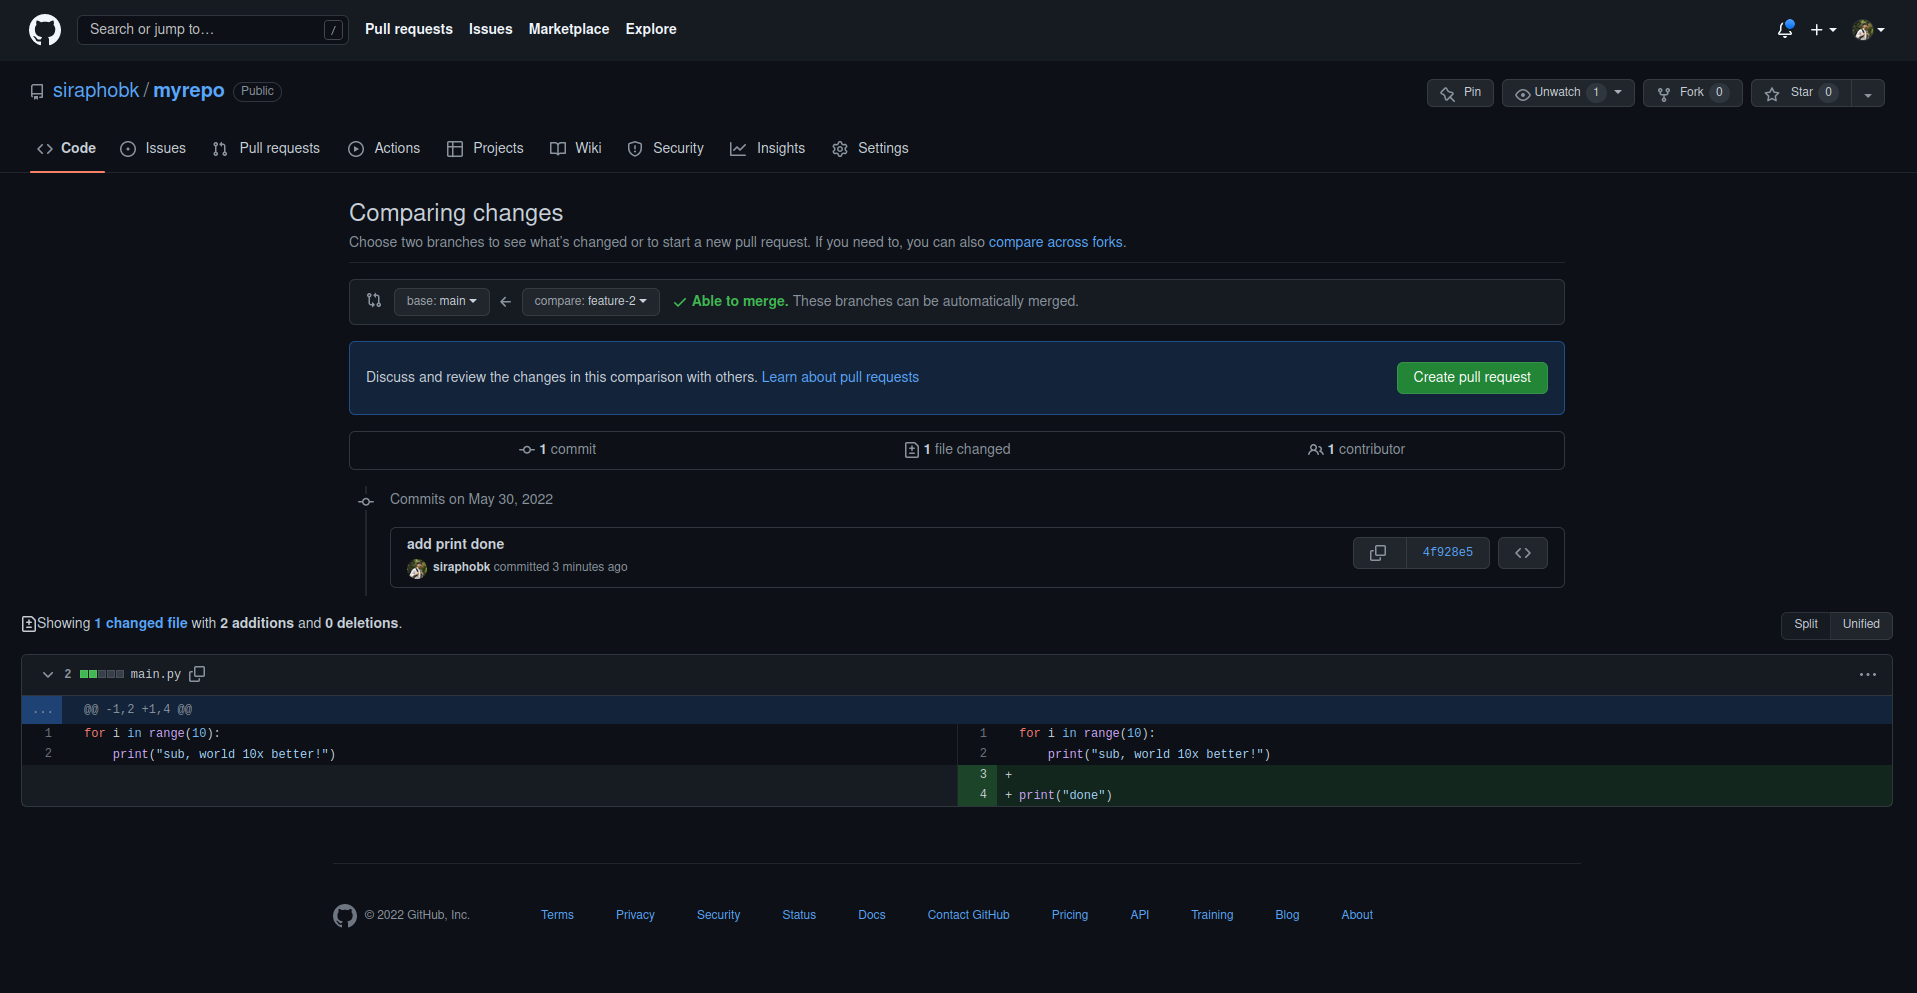 Next, click
 Create Pull Requestto create a pull request.Normally, after this point, there will be code reviewing and discussion with other developers. When the code is approved, the pull request can be merged.
You should never merge your own pull request at all times.
-
However, in this tutorial, we'll merge the branch ourselves. On your pull request page, click
Merge pull request.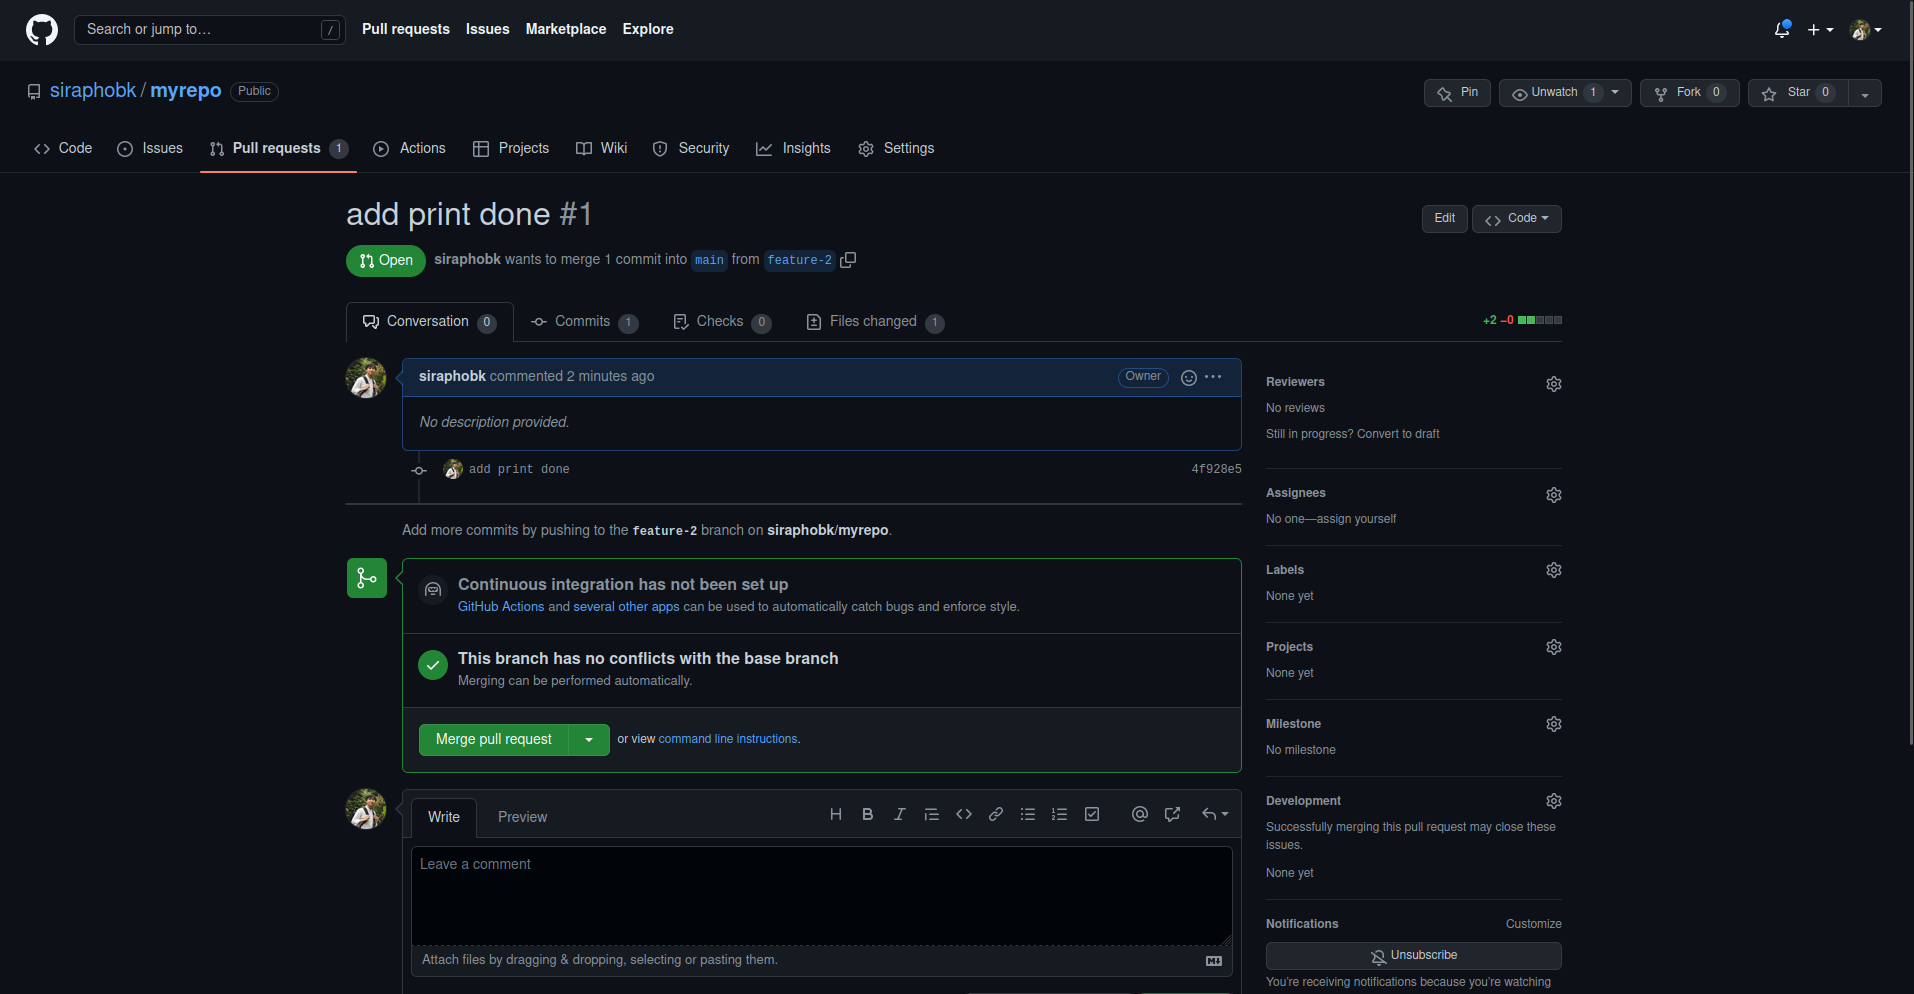
-
Open your terminal, then checkout to the
mainbranch. Rungit fetchto fetch the changes from remote. -
Run
git statusto see the differences between local Git and remote.On branch main
Your branch is behind 'origin/main' by 2 commits, and can be fast-forwarded.
(use "git pull" to update your local branch)
nothing to commit, working tree cleanYou can see that your local Git repository is after the remote by 2 commits.
-
Run
git pullto pull the changes from remote.
Recommended workflow with GitHub issue tracking
A good software development always has a issue tracking system. Issue tracking allows developers to track bugs and new features over the course of time.
A ground rule for using GitHub in software development is to always associate an issue with a pull request.
A pull request (or shortly called "PR") is a merge request from feature branch to the main branch. When a PR is merged, the associated issues will be closed.
The recommended workflow is
-
When having an issue or a feature request, create a new issue in the corresponding repository.
-
If you're developing the issue you were assigned for, checkout a new branch from the
mainbranch. -
After finishing a feature development, create a new pull request with a description that closes the associated issue.
For example,
closes #123 -
Discuss and edit code with other developers until the code is approved then merge the pull request.